How to Train With Your Gun So You’re Ready Anytime
Real self-defense with a firearm is ugly, fast, and unforgiving. When things go bad, you will not rise to the occasion, you will fall to the level of the work you have already put in. If you want to be ready any time you strap on a pistol or grab a shotgun by the door, you need a training plan that builds safe gun handling, pressure-tested skills, and a mindset that holds up when your heart rate spikes.
I am going to walk through how I structure that kind of training, from dry fire in the living room to live fire on the range and advanced movement drills. The goal is simple: when trouble shows up, your draw, your sights, and your decisions are already wired in.
Mindset First: What “Ready Anytime” Really Means
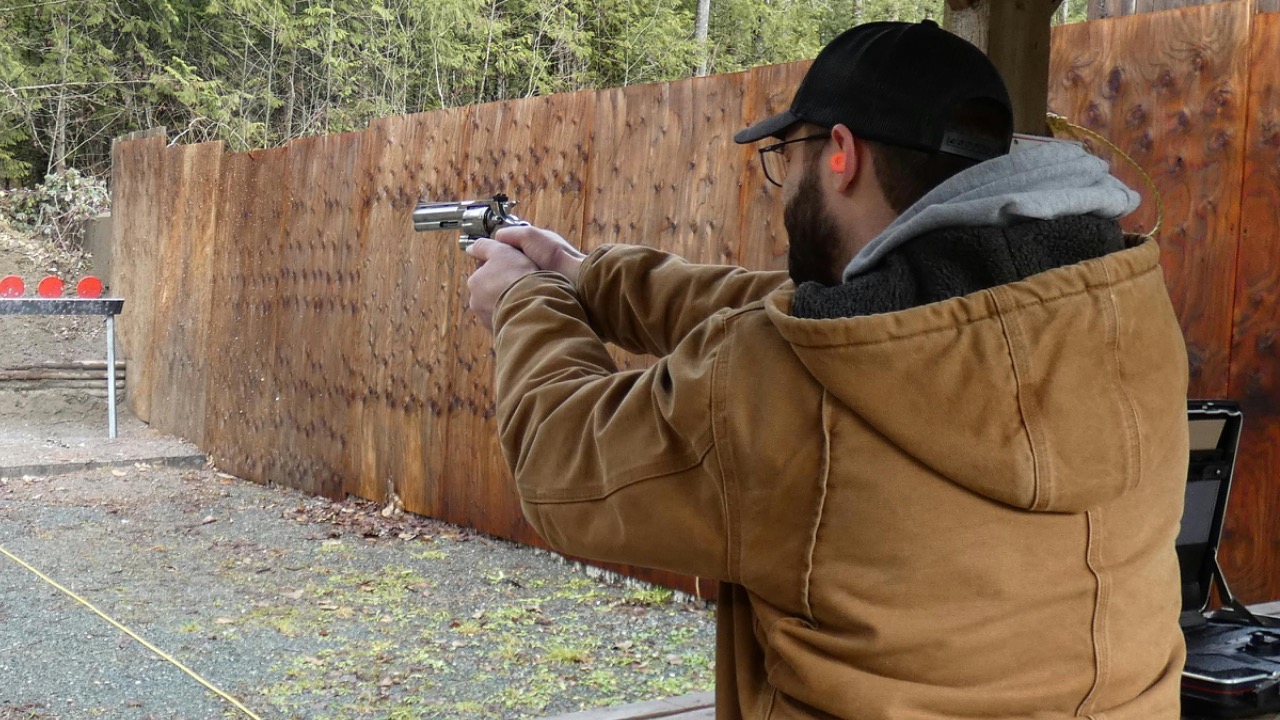
Before I worry about split times or group size, I look at mindset. Being ready around the clock means accepting that self-defense situations are often sudden, chaotic, and decided in seconds, not minutes. You will not have time to warm up or think through basic mechanics, so your brain needs to be free to process the threat, bystanders, and escape options while your hands run the gun on autopilot. That kind of mental bandwidth starts with acknowledging that carrying a firearm is a serious, lifelong responsibility, not a lucky charm.
Good training also forces you to rehearse the mental side of confrontation. One program on mental preparedness stresses stepping back from daily distractions and deliberately asking yourself how you would handle a road-rage encounter or a fender bender in a parking lot. That kind of visualization, paired with realistic practice, helps you avoid freezing when someone closes distance on you or when you suddenly realize there is more than one aggressor. When you accept that self-defense is messy and that you may need to engage multiple adversaries, your training stops being casual plinking and starts looking like work.
Know Your Gun Cold: Manipulation and Safety
To be ready at odd hours, in bad light, or half asleep, you have to know your firearm the way you know the shifter in your truck. That means being able to load, unload, clear malfunctions, and run the safety or decocker without hunting for controls or looking at the gun. One detailed guide on self-defense training points out that learning how to properly manipulate your firearm, including loading and unloading the weapon and using the safety mechanism, is critical because self-defense situations are often fast and stressful and may require the ability to engage multiple adversaries, which is exactly the kind of chaos you should be preparing for in training.
That same mindset should drive your safety habits. A lot of people treat the four rules as something they recite at the range, then forget at home. I want those rules baked into every rep, especially when I am tired or distracted. That means consistent muzzle discipline when you reholster, a hard habit of finger off the trigger until you are on target, and a routine for verifying an unloaded gun before you start any dry work. If you cannot perform a press check, lock the slide to the rear, and visually and physically confirm an empty chamber without thinking about it, you are not ready to train hard, much less defend yourself in the dark.
Dry Fire Done Right: Building Skill Without Burning Ammo
Dry fire is where you build the bulk of your skill, and it is how you stay sharp when ammo prices spike or range time is limited. The key is treating it like live fire, not like a toy. Before I start, I clear the room of ammunition, pick a solid backstop like a basement wall or a full bookcase, and verify the gun is empty. One set of home drills emphasizes that you should always select an area with a solid backdrop and make sure it is free of any live ammunition before you present the gun on target, which is exactly the kind of safety check laid out in those dry fire exercises.
Once the space is safe, I focus on fundamentals that matter under stress: a clean draw, a solid two-handed grip, and a smooth trigger press that does not disturb the sights. A detailed guide on dry firing drills recommends the classic Coin trick, where you balance a coin on the front sight and practice trigger control without disturbing it. That simple drill exposes every bit of flinch and anticipation. I also like to run presentations from concealment to a light switch or a sticky note on the wall, focusing on getting the sights into my line of vision the same way every time. Ten to fifteen minutes of that kind of focused work a few nights a week will do more for your shooting than a random box of ammo once a month.
Gear That Makes Home Practice Safer and More Productive
You do not need a pile of gadgets to train well, but a few smart tools make home practice safer and more efficient. At the top of the list are dummy rounds. One detailed guide recommends A-Zoom Snap Caps as a must-have training aid and notes that they work for a wide variety of dry and live training functions, which is why I keep caliber-specific Zoom Snap Caps in every pistol I train with. They protect firing pins in some designs, let you practice reloads and malfunction drills, and give you a visual cue that the gun is in a training configuration.
Good guidance from one manufacturer also suggests you Purchase snap caps in the appropriate caliber that corresponds with your firearm, then use them to work on Basic Gun Handling like loading, unloading, and building a good two-handed grip, which lines up with how I structure my own dry fire tips. Beyond that, a simple shot timer app on your phone, a strip of painter’s tape on the wall for a “target,” and a sturdy belt and holster will let you run most of the core skills you need. The point is not to build a home simulator, it is to remove excuses so you can get meaningful reps without leaving the house.
Pre‑Range Reps: Drills Before You Ever Touch Live Ammo
Walking onto the range cold wastes time and money. I like to run a short pre-range routine at home so my first live rounds are reinforcing good habits instead of shaking off rust. One instructor in a popular video on first range sessions points out that dry firing before you get to the range is not exciting or magical, but if you go through the motions of dry firing, you will be far more efficient once you start sending rounds, which is exactly the point of those must-have drills. I treat that as a checklist: ten clean draws, ten presses from low ready, and a handful of reloads with snap caps.
Once I am on the range, I start with slow, deliberate fire to confirm that my sights and trigger feel the same as they did at home. One structured program on Range Sessions recommends transitioning to live fire two or three times a week, starting with controlled groups at close distance and then gradually adding movement and speed to get objective feedback. That kind of progression keeps you from chasing speed before you can hold a group and gives you a clear way to measure whether your dry fire is paying off.
Core Live‑Fire Drills That Actually Translate to Self‑Defense
Once the gun is zeroed and you are warmed up, the real work starts. I want drills that mimic the distances, time pressure, and decision-making of a real fight. A solid place to start is hanging a target, stepping back about ten paces, and running a simple sequence where you Load your firearm, fire a controlled string, then verify the gun is empty again, which is the basic pattern laid out in one set of self-defense drills. That kind of structured repetition builds confidence in your ability to draw, fire, and safely recover.
From there, I like to add more demanding patterns. A well-known combat marksmanship program highlights the Bill Drill, where you put six rounds center mass as fast as you can while keeping them in the high chest, which is a brutal but effective way to test grip, recoil control, and sight tracking under pressure, as laid out in those pistol drills. Another useful standard is the BFM Drill at 7 yards, adapted from Ken Hackathorn, where you Set three paper targets 1 yard apart, Load a magazine of 8 rounds, and work a specific pattern that includes body and head shots, which is detailed in the BFM Drill. Those kinds of standards give you a clear yardstick for where your skills really sit.
Failure Drills, Reloads, and Movement Under Stress
Real fights do not always end with two rounds to the chest. Sometimes a threat does not stop, or body armor is in play, and you need to change your point of aim fast. That is where the classic Failure to Stop pattern comes in. One training document describes the Failure to Stop Mozambique Drill as a close-range exercise that tests your ability to quickly and efficiently transition from center-mass hits to a precise head shot, which is critical for effective self-defense and law enforcement scenarios, and that is exactly how I use the Failure Drill in my own sessions. Another source breaks down The Mozambique Drill as Two to the Chest, One to the Head, and notes that it forces you to train for both center-mass and headshots, which is why I keep that Mozambique Drill in regular rotation.
Reloads are the next weak link for most shooters. A detailed breakdown of pistol training drills highlights The Reload Drill, which focuses on improving the speed and smoothness of changing magazines during shooting and stresses having one magazine in the gun and one or more on your person, which is exactly how I set up my own reload work. Once you can run that cleanly on a static line, start adding movement. One advanced training program points out that in a self-defense scenario, static shooting from a stationary position may not always be viable and that advanced tactics involve mastering movement, use of cover, and shooting from unconventional positions to increase your effectiveness in high-stress situations, which is why I regularly practice stepping off the line, slicing the pie around barrels, and shooting from kneeling or awkward angles as laid out in that advanced training.
Structuring Solo Training So You Keep Progressing
Most of us train alone more than we train with an instructor, so the way you structure solo sessions matters. I like to treat each week like a mini training cycle: one or two dry-fire blocks at home, one focused live-fire trip, and a short review of what went well and what did not. A guide to solo practice points out that the right gear ensures you are ready for a productive and safe practice and stresses Creating a Safe Training Environment at Home with a clear Safety Checklist before you start, which matches how I set up my own solo training. Once the space is squared away, I pick two or three drills and track times or hit percentages so I am not just burning ammo.
Variety matters too, but it needs to be controlled. That same guidance recommends incorporating variety in drills to keep training engaging and to make you a more proficient shooter, which is good advice as long as you are not changing everything at once. I like to keep one “core” drill in every session, like the Bill Drill or a simple draw-and-fire standard, then rotate in one or two others that work a different skill, such as a head-shot standard or a reload drill. Over time, that gives you a broad base of skills without losing the ability to measure whether you are actually getting faster and more accurate.

Asher was raised in the woods and on the water, and it shows. He’s logged more hours behind a rifle and under a heavy pack than most men twice his age.